Concrete surface preparation: complete guide for professionals
Methods, tools and best practices to prepare a concrete surface before treatment: grinding, shot blasting, scarifying, bush hammering and consumable selection.
Determined by preparation quality
Diagnosis through final verification
Cohesive limit of sound concrete
Permissible exposure limit over 8 hours
Concrete surface preparation determines 80 % of the durability of a coating. A poorly prepared slab causes delamination, cracking and costly remedial work. This guide details professional methods, selection criteria and Sept Tools solutions adapted to each type of jobsite.
Why prepare the surface?
Three goals justify preparation:
Adhesion
Coatings (epoxy resin, polyurethane, repair mortar, paint) bond by mechanical interlock. A smooth, contaminated or laitance surface offers less than 0.5 MPa of adhesion. A correctly prepared surface reaches 1.5 to 2.5 MPa, the cohesive limit of concrete itself. Beyond that, failure occurs in the bulk material rather than at the interface.
Durability
Insufficient preparation leaves a surface laitance (a thin layer of hydrated cement low in aggregate). This laitance fragments under load and pulls the coating off with it. A properly prepared industrial floor lasts 15 to 20 years, compared to 3 to 5 years for a poorly prepared one.
Aesthetics
For decorative concrete (polished, waxed, exposed aggregate), preparation determines the final appearance. A 2 mm flatness defect becomes visible after sealing.
Preparation steps
A complete preparation always follows the same order:
- Diagnosis: concrete type, hardness, condition, contamination.
- Stripping: removal of old coatings, oils, laitances.
- Profiling: creation of a roughness profile suited to the future coating (ICRI CSP 1 to 9).
- Dust extraction: class M or H vacuum depending on silica exposure.
- Verification: pull-off test, water test, flatness measurement.
Surface diagnosis
Hardness
Measured with a Schmidt hammer per EN 12504-2. Hardness drives the choice of grit and bond on diamond discs:
- Soft concrete (15 to 25 MPa): hard bond, large grit.
- Standard concrete (25 to 40 MPa): medium bond, medium grit.
- Hard concrete (40 to 60 MPa): soft bond, fine grit.
- Extra-hard concrete (> 60 MPa): very soft bond, very fine grit.
The classic mistake is using too hard a bond on hard concrete: the diamond does not renew, the disc “glazes” and stops cutting. Conversely, a bond too soft for soft concrete wears prematurely.
Surface condition
- presence of active or stabilised cracks,
- visible delamination under light percussion,
- carbonation (phenolphthalein test),
- organic contamination (oils, greases, old paints),
- mineral contamination (laitance, calcium scale, efflorescent salts).
Contamination
Mineral oils penetrate up to 5 mm deep. Chemical decontamination alone is insufficient: the affected layer must be removed by shot blasting or scarifying.
Preparation methods
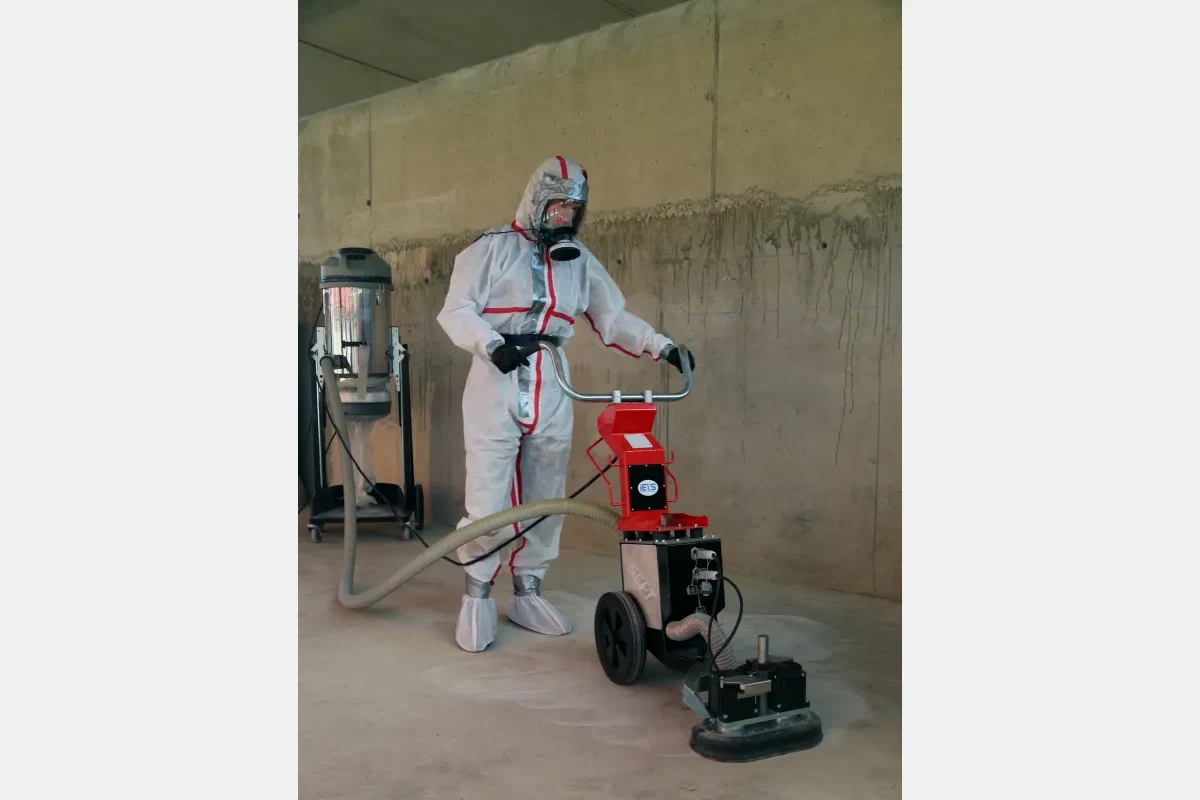
Grinding
The most versatile method. A diamond disc grinder removes laitance and profiles the surface from CSP 1 to CSP 4 depending on grit. Grinding is preferred for:
- surfaces destined for thin resin (< 2 mm),
- decorative concrete,
- indoor zones where noise and dust must be controlled.
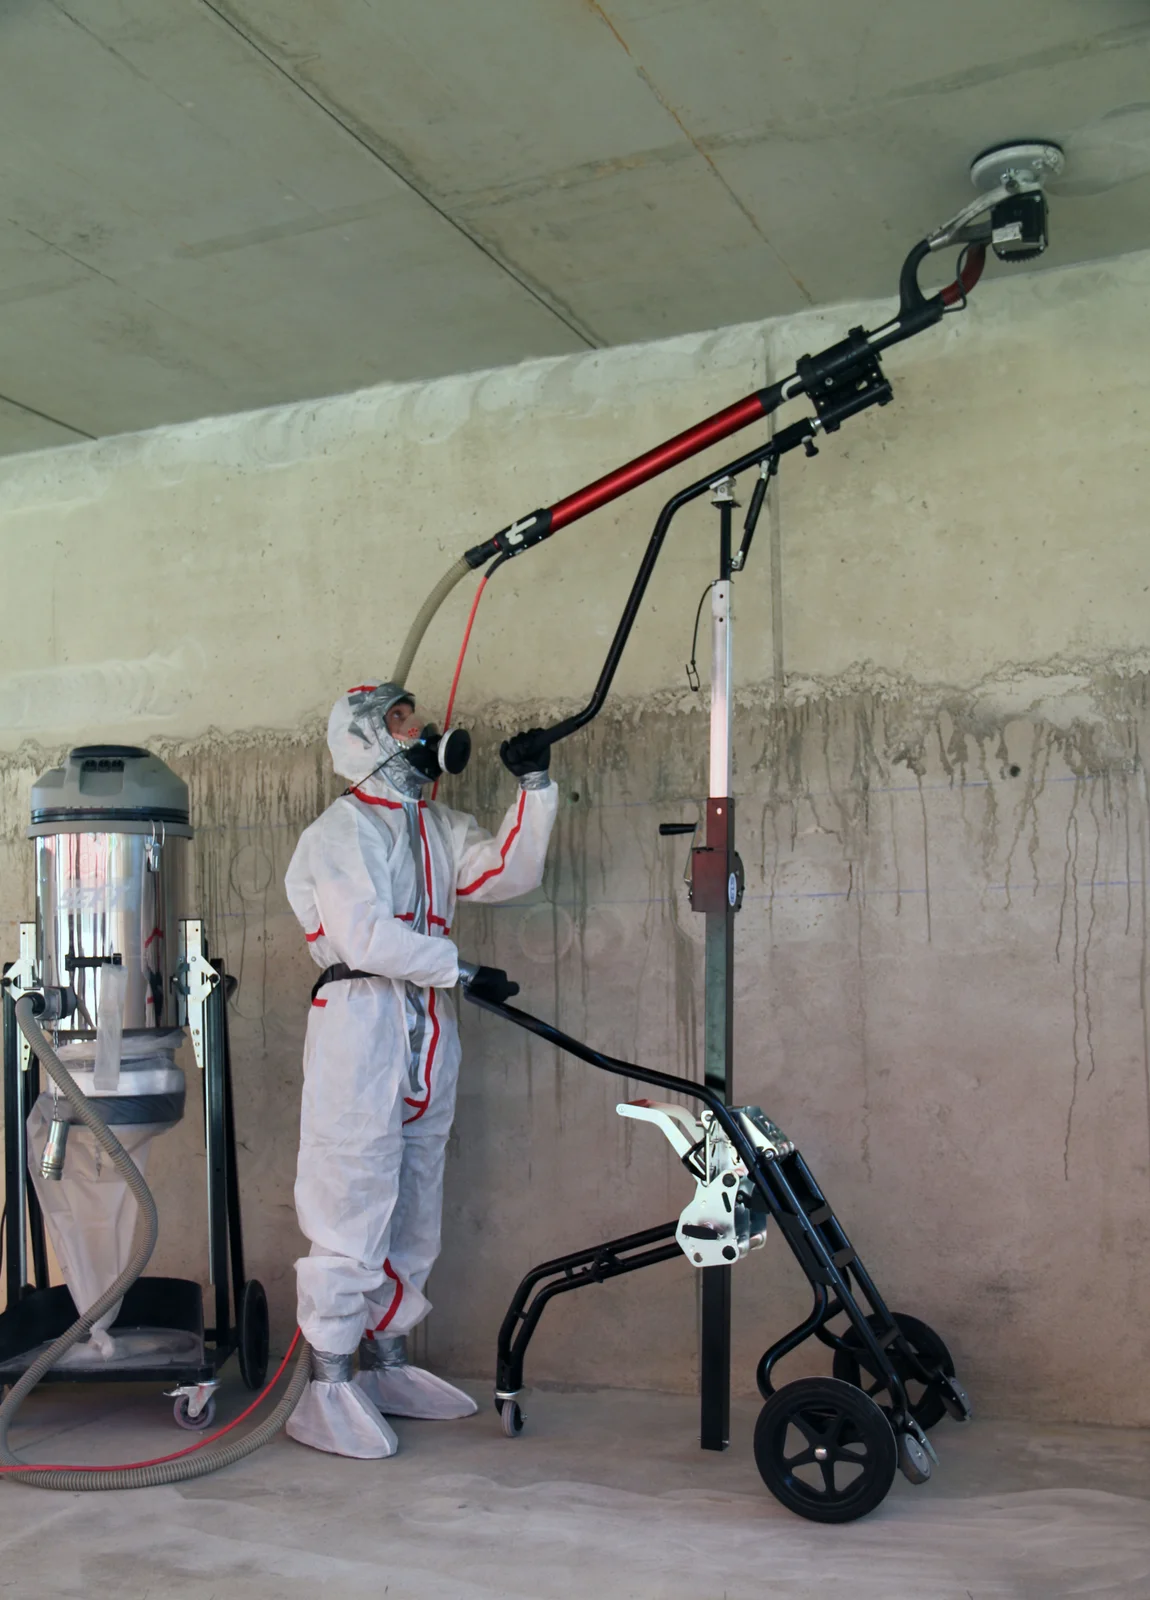
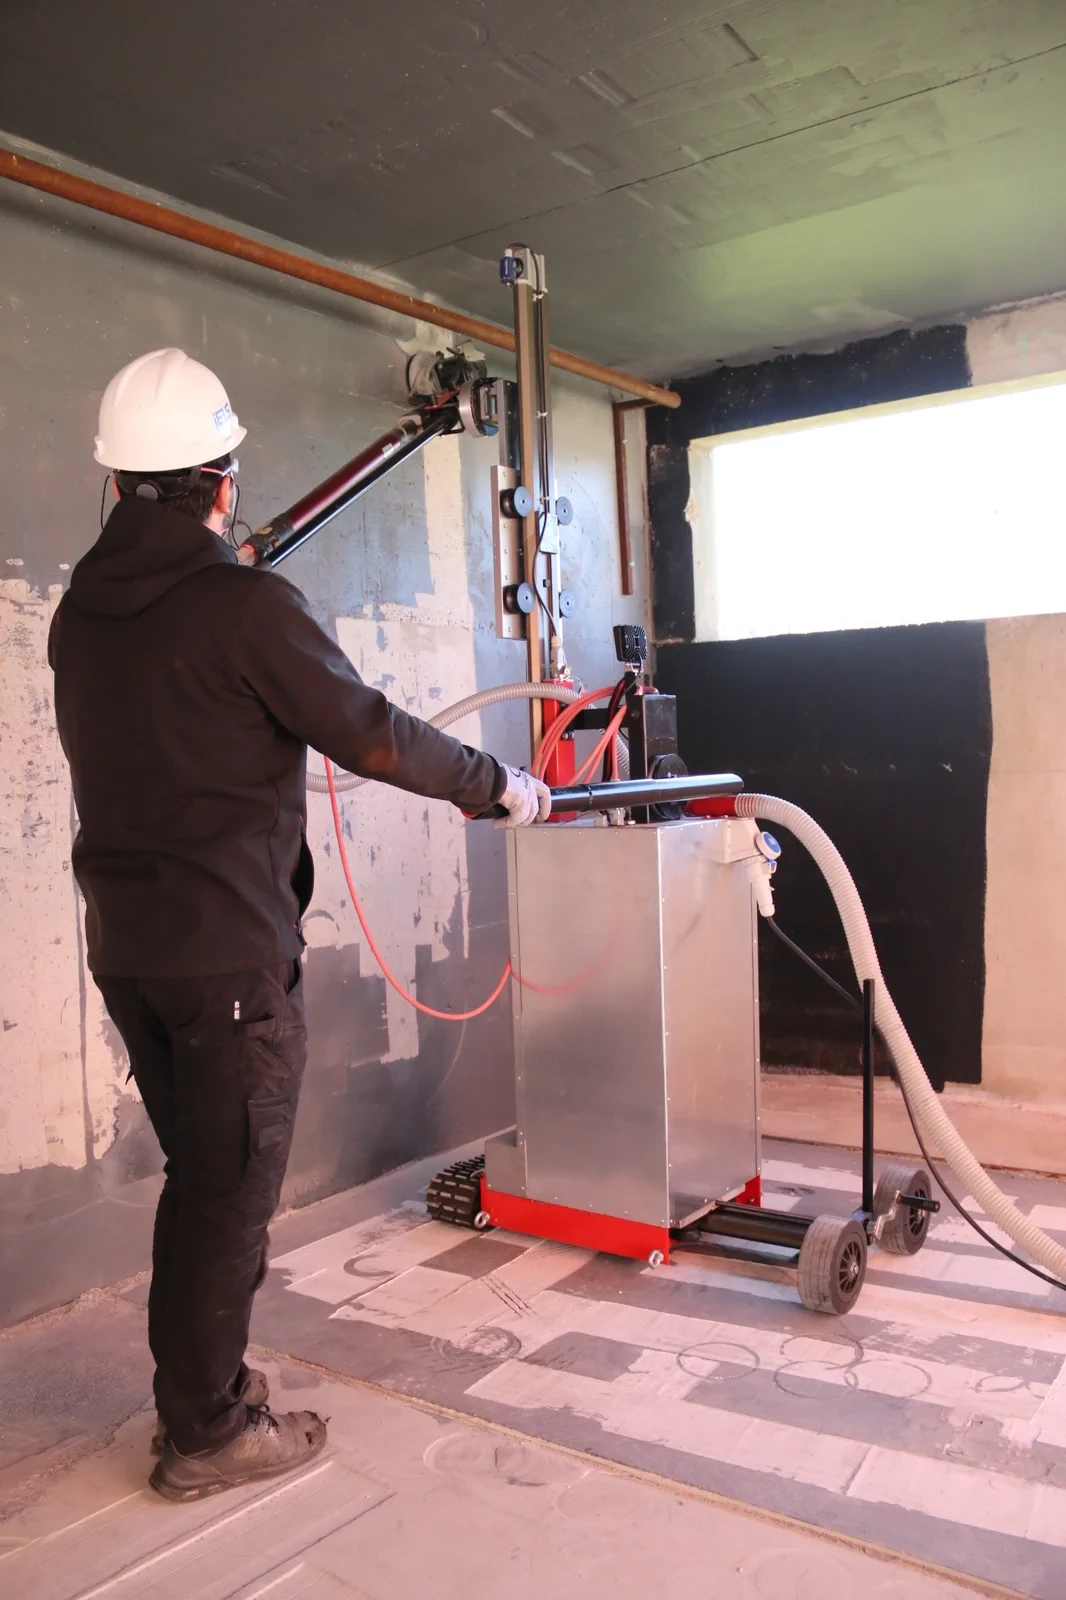
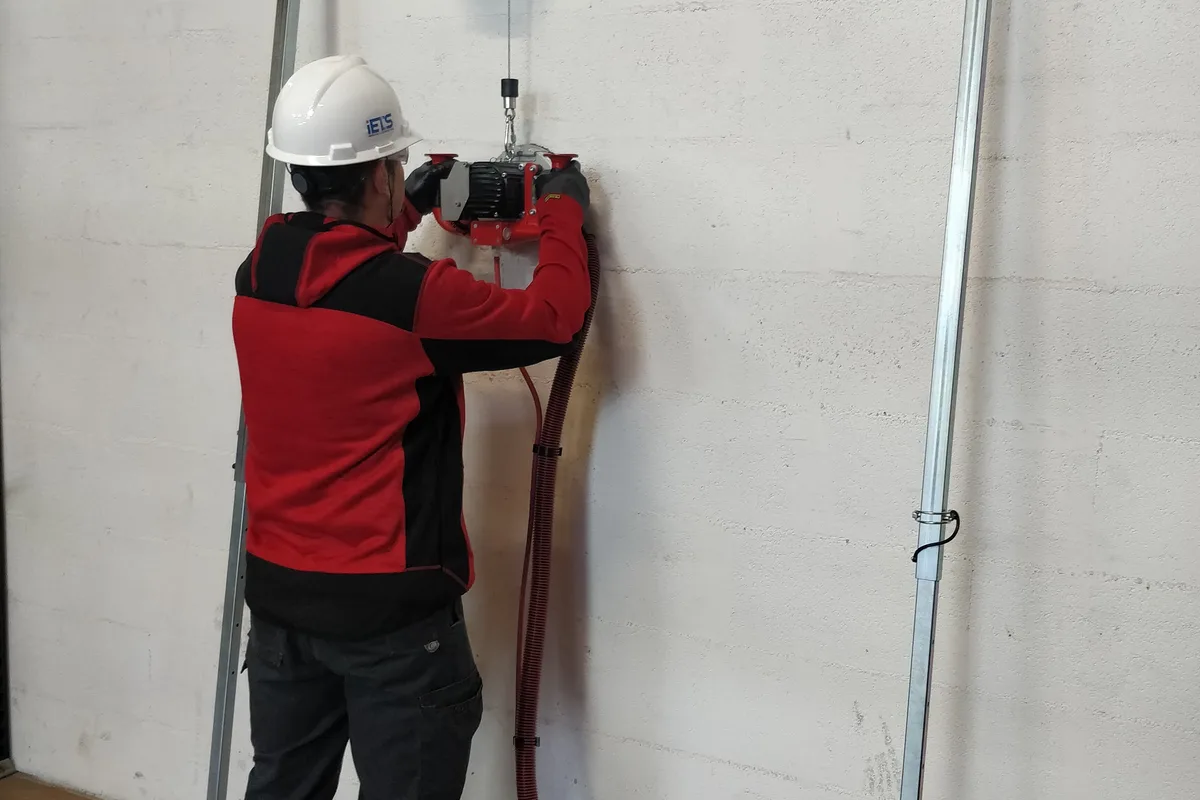
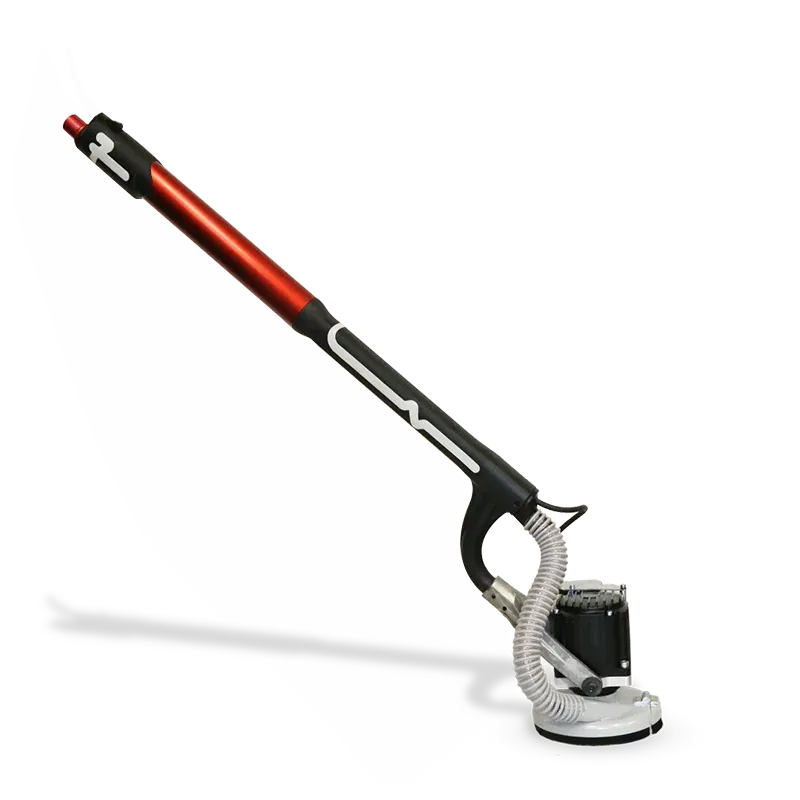
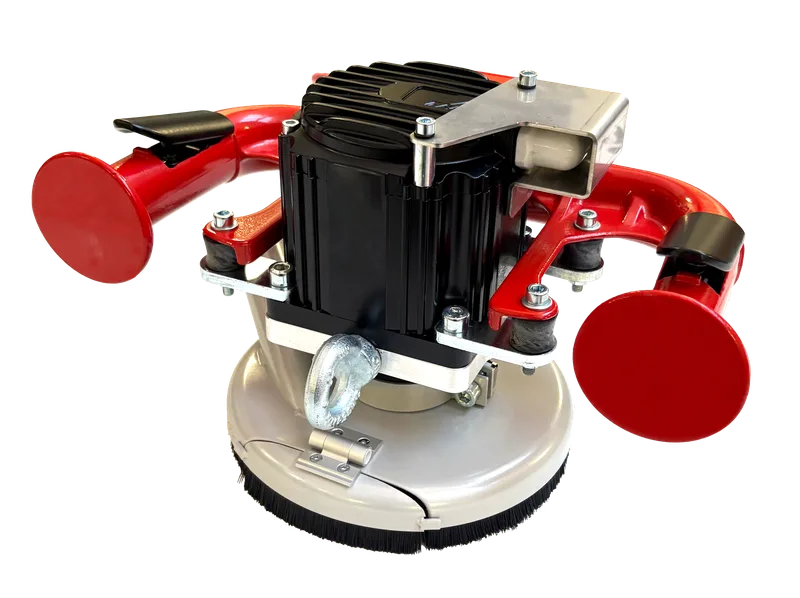
The Fouine XB165 Sept Tools covers finishing and light preparation needs with its 1600 W brushless motor and 165 mm disc.
For larger areas, see also our floor grinding page.
Shot blasting
Steel shot is projected onto the surface under pressure. The shot strips laitance, opens concrete pores and creates a rough profile from CSP 3 to CSP 6. Advantages:
- no airborne dust (closed system with shot recovery),
- very open profile ideal for thick resins (3 to 10 mm),
- high feed rate.
Drawbacks: heavy machines, poorly suited to small areas and corners.
Scarifying
A drum equipped with carbide cutters or diamond rollers scarifies the surface, removing 1 to 5 mm. Preferred method for:
- removing markings or bumps,
- preparing heavily contaminated zones,
- achieving an open CSP 5 to CSP 9 profile.
Scarifying produces significant vibration and noise. Reserve for outdoor or isolated areas. The Sept Tools planing range offers brushless versions to limit these nuisances.
Bush hammering
Carbide head percussion that fractures the surface and creates a “crocodile skin” effect. Very open profile CSP 7 to CSP 9. Suitable for:
- decorative anti-slip concrete (stairs, ramps, pool surrounds),
- surfaces destined for thick mortar bedding.
Concrete bush hammering has become a sought-after architectural finish.
Diamond grit and disc selection
Grit is expressed in mesh (number of openings per inch). Higher numbers mean finer grit:
| Grit | Use | Resulting profile (CSP) |
|---|---|---|
| 16 / 25 | Aggressive stripping, thick laitance removal | CSP 4 to 6 |
| 40 / 60 | Standard stripping, paint removal | CSP 3 to 4 |
| 80 / 120 | Preparation before thin resin | CSP 2 to 3 |
| 200 / 400 | Pre-polishing | CSP 1 to 2 |
| 800 / 1500 | Medium polishing | Smooth |
| 3000 / 6000 | Mirror polish (waxed concrete) | Smooth glossy |
Bond: metal, resin or hybrid
- Metal bond: long service life, aggressive cut, essential for initial stripping.
- Resin bond: gentle finish, ideal beyond grit 200, removes scratches.
- Hybrid bond: versatile, good compromise for sites combining stripping and finishing.
Sept Tools offers a complete range of diamond discs sorted by concrete hardness and grit.
Dust extraction and management
Concrete dust contains crystalline silica, classified as a confirmed carcinogen (IARC group 1) since 2017. The OSHA permissible exposure limit is 0.05 mg/m³ over 8 hours; the EU directive 2017/2398 sets a binding limit of 0.1 mg/m³ for respirable crystalline silica.
Source capture
Every concrete preparation tool must be permanently connected to a class M vacuum minimum, H as soon as fine dust is heavily produced or exposure is prolonged.
- minimum airflow: 65 l/s for a portable tool, 70 l/s for a floor grinder,
- automatic filter cleaning: mandatory beyond 2 hours of continuous use,
- sealed connection between tool and hose.
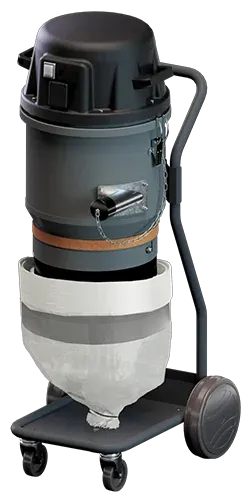
The IU33 Longopac covers most concrete preparation needs. For larger volumes, the IU40, IU51 and IU81 offer higher airflow and runtime depending on workload (compact, intermediate, large jobsite), all HEPA H14 compatible.
Sept Tools solutions by jobsite type
New industrial floor, area < 200 m²
- Fouine XB165 ceiling and wall grinder for walls and skirtings,
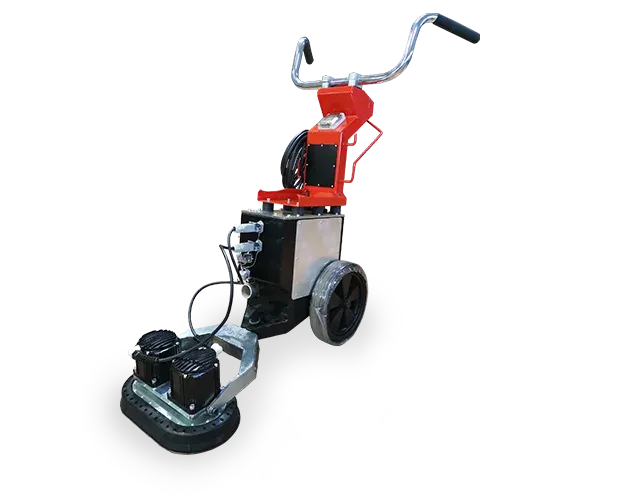
- Tapir floor grinder for the slab,
- IU33 Longopac vacuum,
- Metal discs grit 30, then resin grit 120.
Floor refurbishment with contamination, area > 500 m²
- Castor planer for initial removal,
- Petit Potam grinder for levelling,
- IU81 vacuum (large jobsite, HEPA H14 compatible),
- Metal discs 16/25 for stripping, then 60 and 120.
Decorative indoor concrete
- Fouine XB165 and Petit Potam grinders,
- Resin discs 200, 400, 800, 1500, 3000,
- Class H IU33 Longopac vacuum.
For complete sizing on your jobsite, use the Sept Tools configurator.
Mistakes to avoid
- Skipping the diagnosis. Without hardness measurement, disc selection is random and wear is premature.
- Mixing grits. Always clean the machine between two passes to avoid transferring large grit onto a finishing step.
- Undersizing the vacuum. Insufficient airflow lets dust fall back and causes the discs to slide.
- Ignoring flatness. A non-flat slab receives an irregular coating that wears faster.
- Preparing too early. Concrete must be at least 28 days old to reach nominal strength and stabilise its moisture content.
Conclusion
Preparing a concrete surface is not “running a grinder over it quickly”. It is a five-step process (diagnosis, stripping, profiling, dust extraction, verification) that determines the durability of everything that follows. The choice of method depends on concrete hardness, the future coating and jobsite constraints (noise, dust, access).
Sept Tools offers a complete chain of brushless tools and diamond consumables for every use case. For technical advice on your jobsite, contact our engineers or use the configurator.
Sept Tools Configurator
Find your ideal set in 2 minutes
Guided questionnaire: grinder, vacuum and anti-fatigue accessories matched to your jobsite.
What operators face on site
Skipped hardness diagnosis
Without Schmidt hammer measurement, bond selection is random and the diamond disc wears prematurely or glazes.
Sept Tools method: Schmidt hammer + hardness/grit/bond chart supplied with every disc order.
Wrong grit selection
Skipping a grit step (16 → 120 directly) leaves scratches that reappear under the coating.
Controlled progression 16 / 60 / 120 / 200, machine cleaning between passes to avoid grit transfer.
Carcinogenic crystalline silica
Concrete dust contains alpha-quartz silica, IARC group 1 since 2017, silent exposure risk.
IU33 Longopac class H vacuum with automatic filter cleaning and permanent sealed connection.
Uncontrolled CSP profile
A profile too closed for thick resin causes delamination at 6 months; too open for thin resin leaves bubbles.
Sept Tools cross-reference table grit / CSP / coating type, validated on 200 reference jobsites.
The complete concrete preparation process
Diagnosis
Schmidt hammer hardness, surface condition, contamination
Stripping
Removal of old coatings, oils, laitances and scale
Profiling
Creation of CSP 1 to 9 profile per future coating
Dust extraction
Class M or H vacuum synchronised with the tool
Verification
Pull-off test, water test, flatness measurement
- 1
Diagnosis
Schmidt hammer hardness, surface condition, contamination
- 2
Stripping
Removal of old coatings, oils, laitances and scale
- 3
Profiling
Creation of CSP 1 to 9 profile per future coating
- 4
Dust extraction
Class M or H vacuum synchronised with the tool
- 5
Verification
Pull-off test, water test, flatness measurement
Before / After Sept Tools
Insufficient preparation
- Adhesion < 0.5 MPa, delamination at 12 months
- Coating life 3 to 5 years
- No prior hardness diagnosis
- Mixed grits, residual scratches
- Class L vacuum or none
- No flatness or pull-off check
Sept Tools method
- Adhesion 1.5 to 2.5 MPa, failure in the bulk material
- Coating life 15 to 20 years
- Schmidt hammer measurement and matched bond
- Controlled 16 → 60 → 120 → 200 progression
- Class M or H synchronised vacuum
- Systematic pull-off test > 1.5 MPa
Equipment featured in this article
Free guide: 5 mistakes that shorten the life of your grinder
12 pages of practical tips for your job sites.
Frequently asked questions
Which grit for a floor that will receive epoxy?
How long does it take to prepare a 100 m² slab?
How do I know if the surface is correctly prepared?
Should a new slab be prepared?
Does grinding damage the concrete?
Find your ideal set
Configure your machine + ergonomics + vacuum combination in a few clicks.